Raspberry Pi Dumb Terminal And Then Some
As someone whose interest in computing struck in the early 1980s I've always loved small self-contained computers. In my teens I discovered dumb terminals. However, it wasn't until the last ten years when I found myself SSHing in to remote servers that the idea I might have a use for one made any sense.
I Googled, I pored over oldcomputers.com and terminals-wiki.org, I watched old films. I kept coming back to the DEC VT100. I scoured eBay and other sites but they rarely come up and when they do are out of my price range.
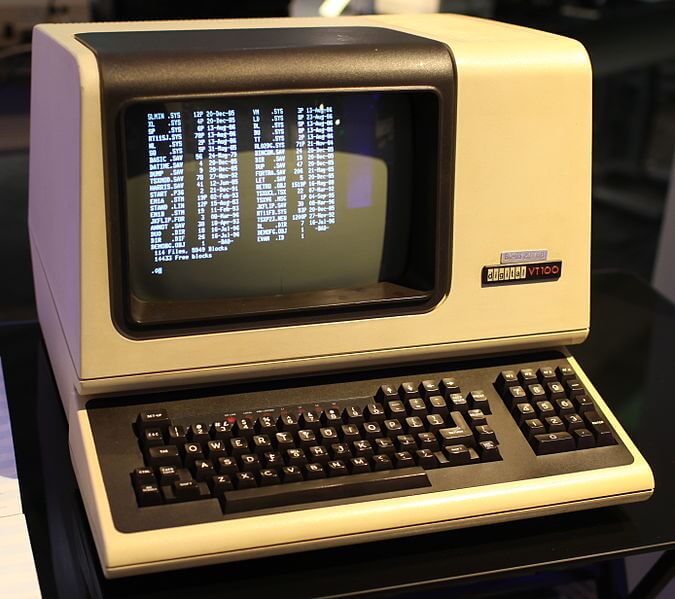
It dawned on me, "heck! I have a 3D printer, a competency with CAD, Linux, and basic electronics, and oh, the Raspberry Pi would be perfect for this."
First things first was to source the parts so I could design my VT100 around it.
The guts would be a Raspberry Pi Zero W since all I intended to use it for would be connecting to other systems.
The screen was straightforward enough on AliExpress. A nice 8", 4:3 screen with driver board, HDMI, VGA, and AV inputs was only ~£26. It's bright and sharp and only requires 12v at 2-4amp.
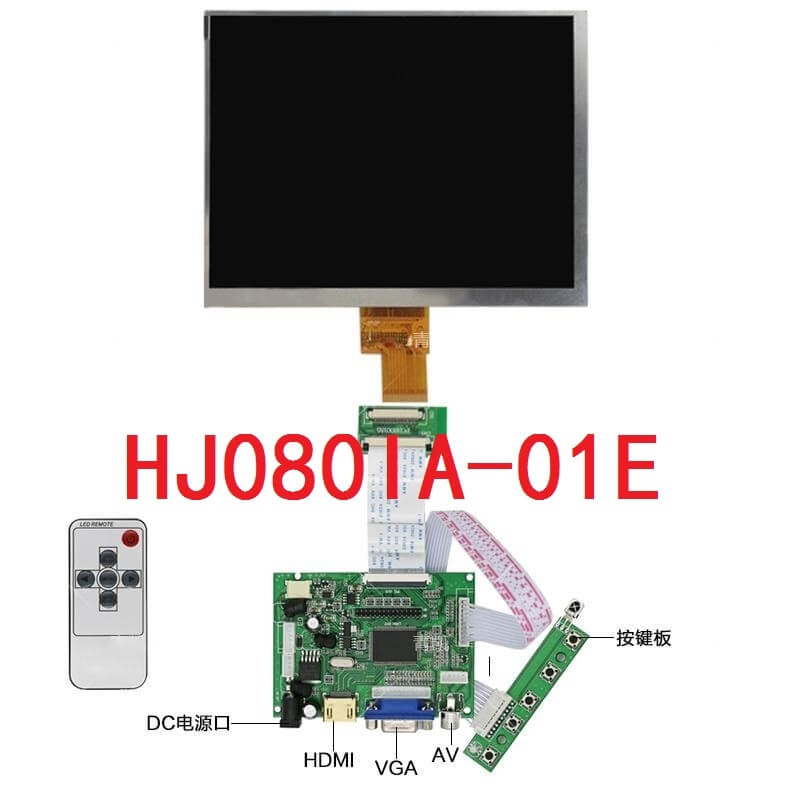
With a big enough power supply I could power the Pi and the screen from one input. I bought a simple step-down board to convert 12v to 5v with a USB output.

The keyboard was a bit of a headscratcher. I wasn't about to 3D print a chassis and full keyboard so I was forced to compromise on the VT100 authenticity. I bought a cheap small USB keyboard. A future upgrade might be to make a housing this 3rd party keyboard would fit in to.
I leapt in with both feet (and a set of calipers) and designed a small VT100 which would fit the screen I had nicely.
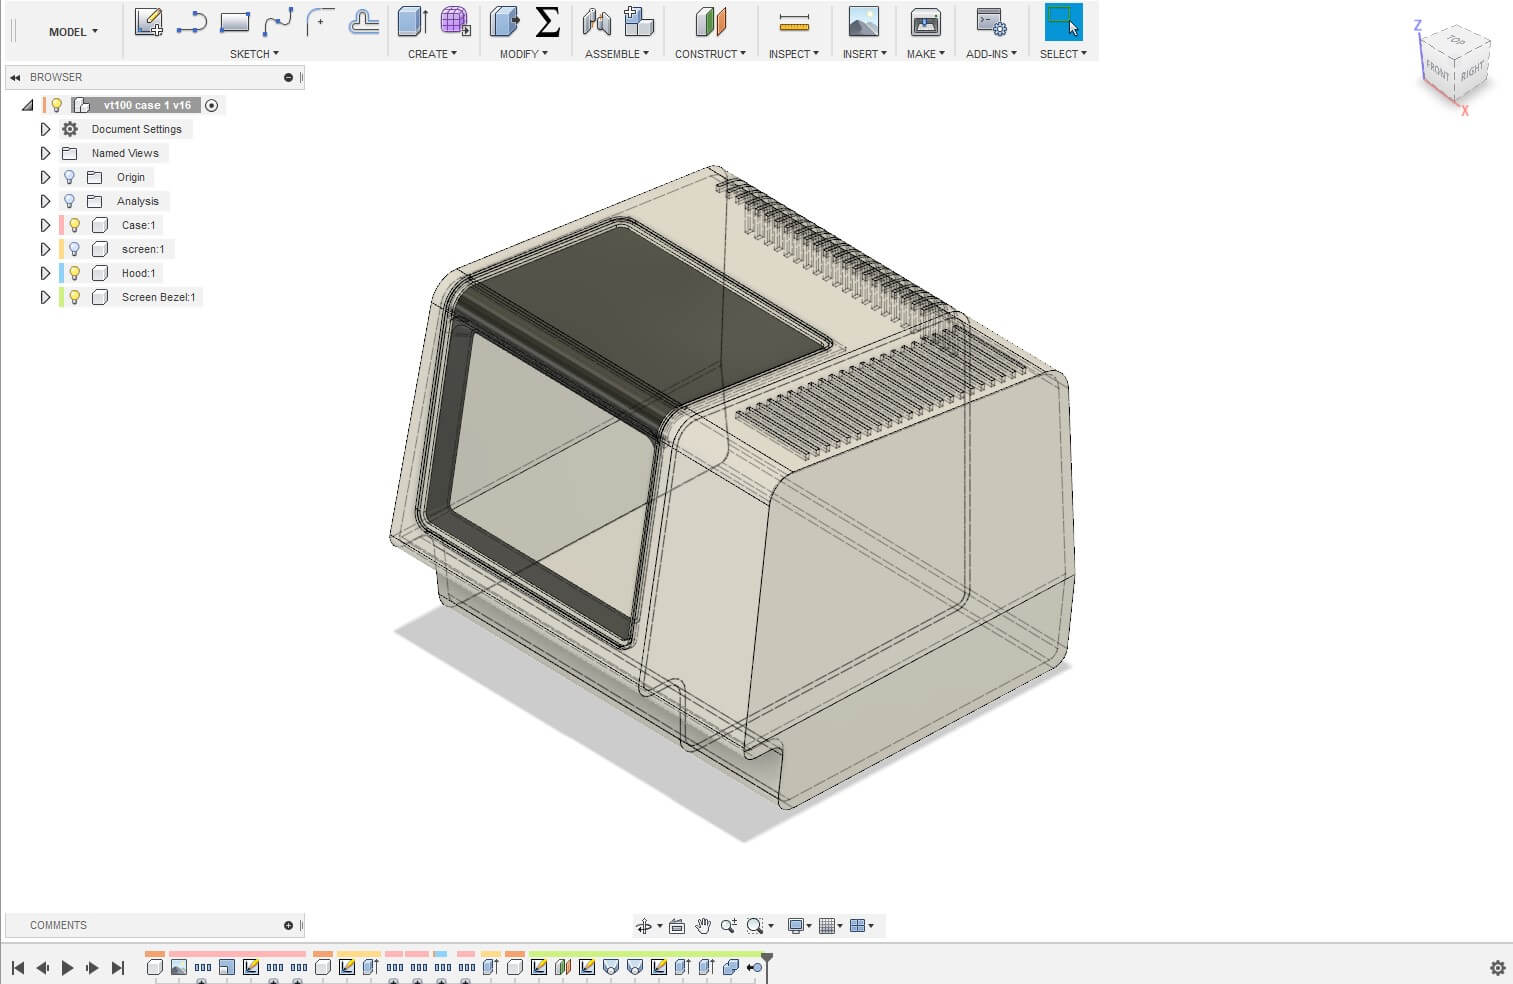
The further I got in to designing it I realized how difficult it would be to print on my printer (the case itself would require six or seven parts glued together) and that it would take up a lot of precious desk space. I decided version one should be a working machine, not a faithful reconstruction. With a coffee and a notebook I started with some sketches.
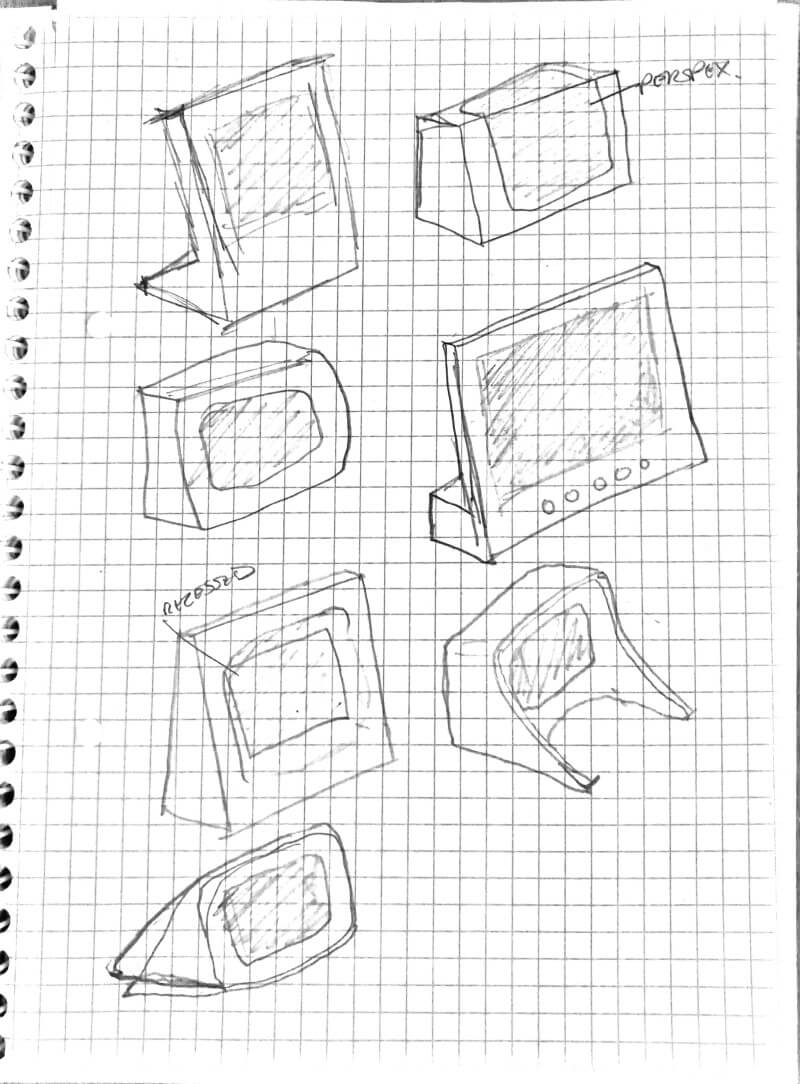
With 3d printing in mind I selected one design and created it in CAD, but I found it wanting. Instead of a side-by-side arrangement for the circuit boards I came up with a design where the boards are stacked.
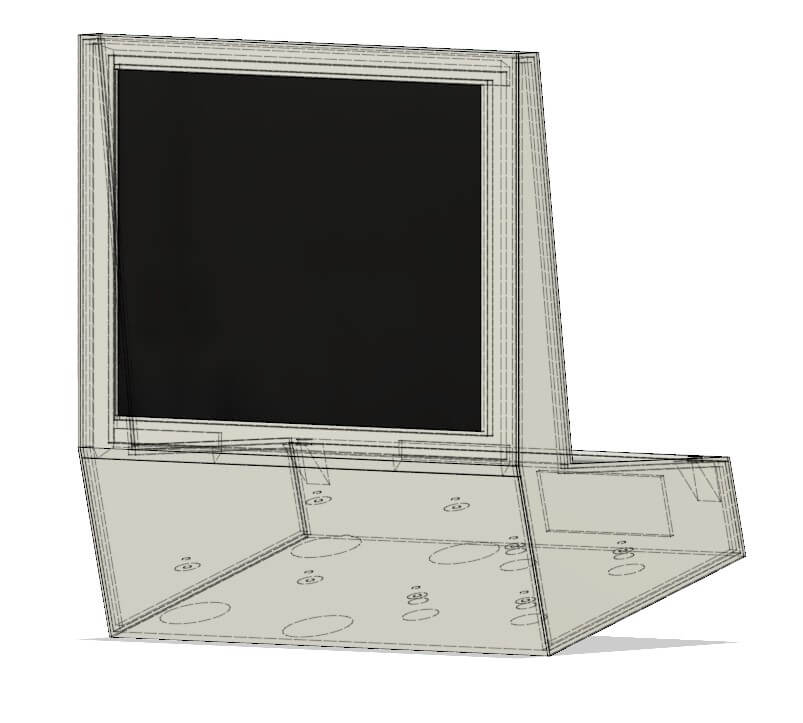
Abandoned design
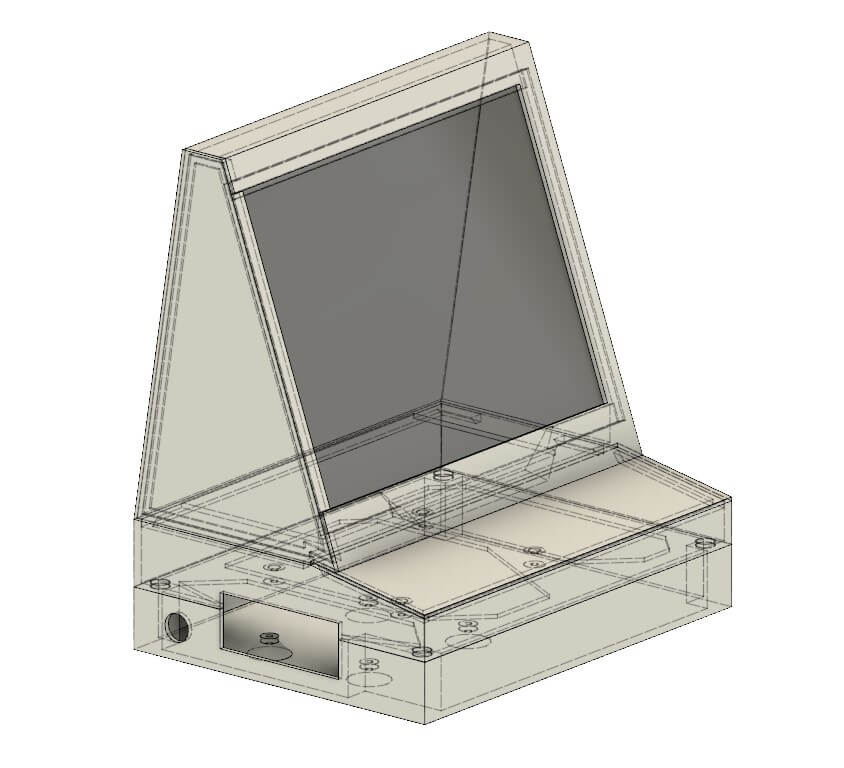
Final design
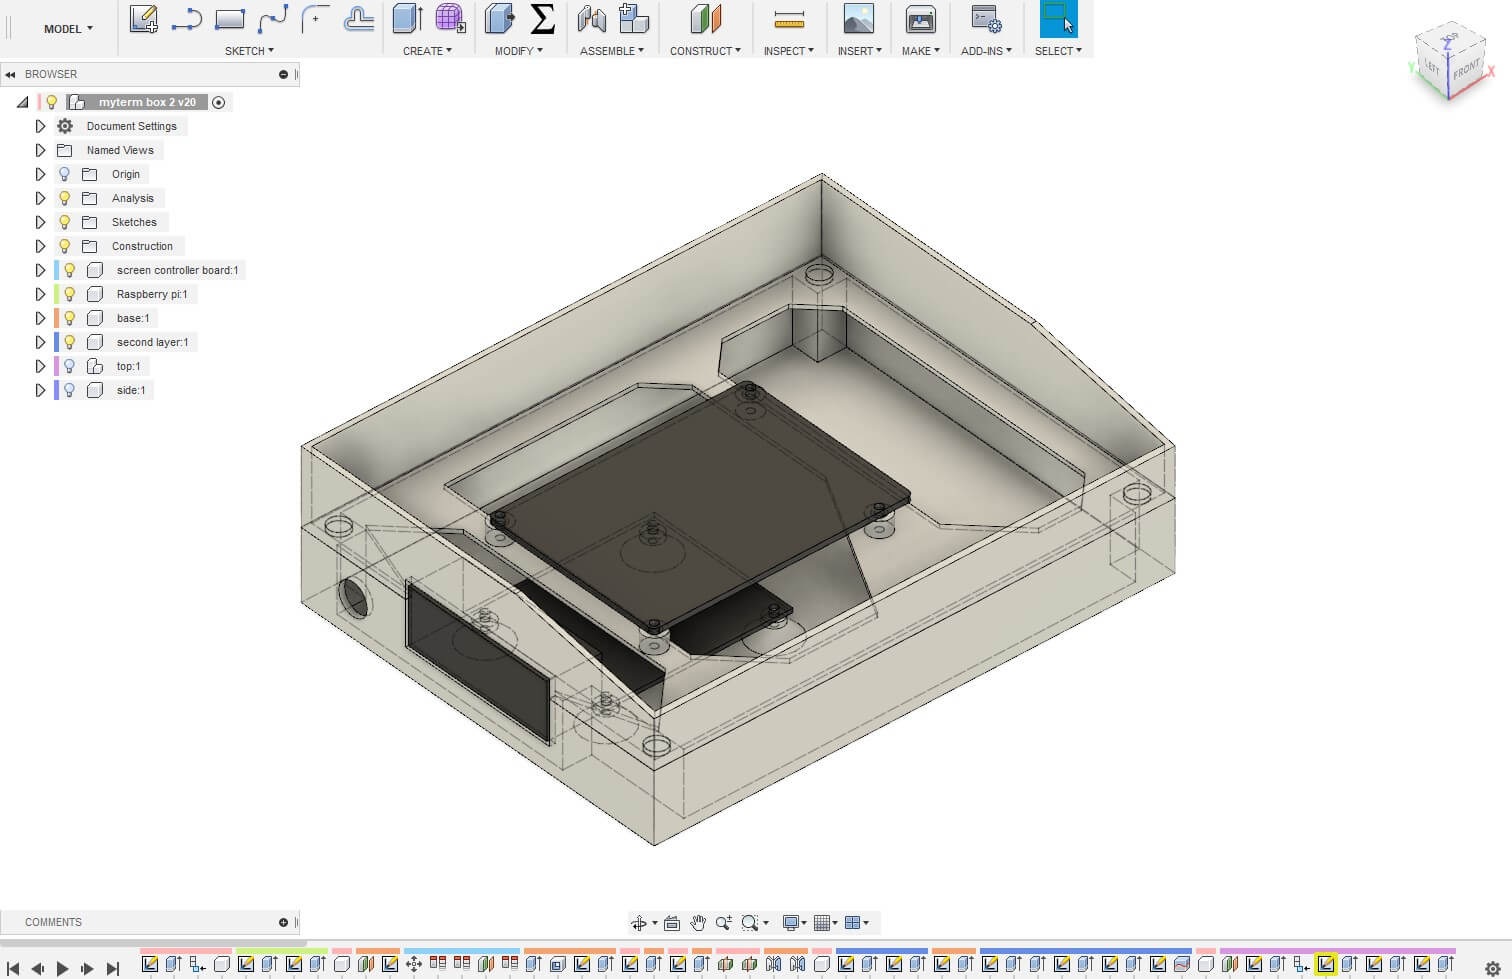
Circuit board arrangement
In all I think it took about twenty-six hours to print. I'm happy to say it fits together nicely.
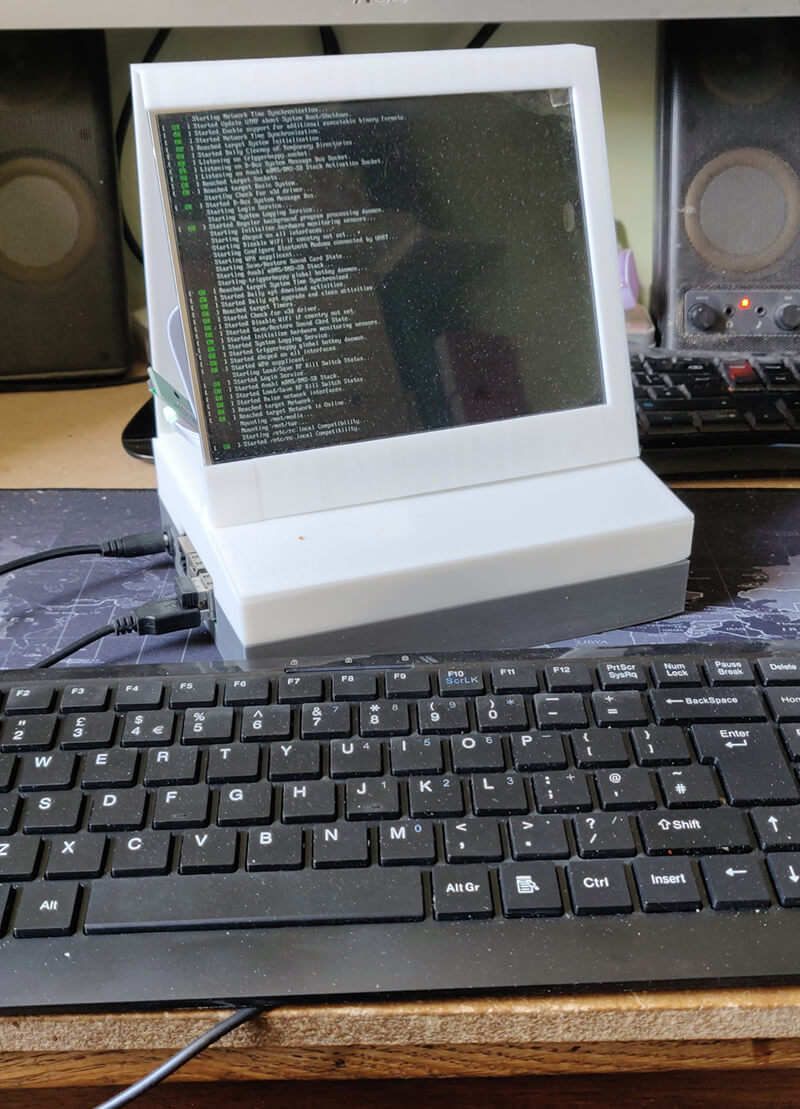
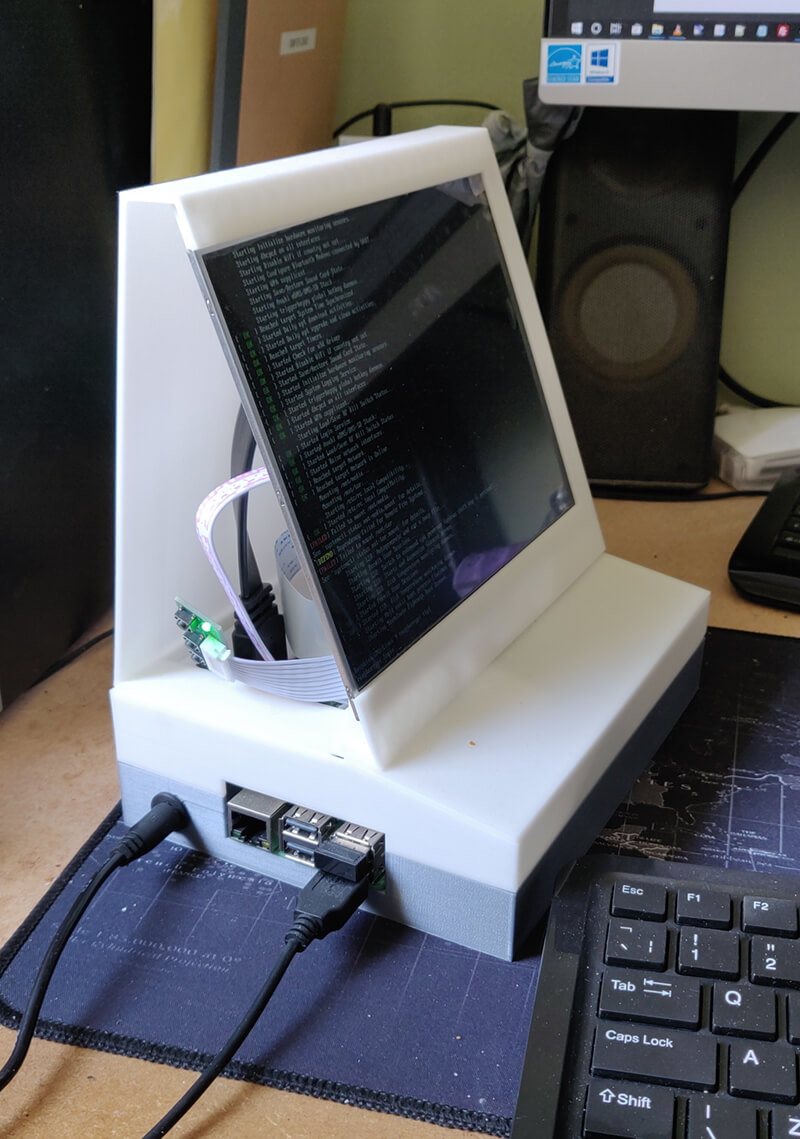
I realised that this was wasted as just a terminal so I put a Pi 3b+ in there and installed the desktop environment. I put a ZX Spectrum emulator on and realised I'd neglected to a put a speaker in! Something for v2. For version two I'll probably make some of the corners softer by rounding them and make it snap together tighter.